
THE CRAFT · Practical sourdough technique
There is a particular kind of disappointment that comes just before a bake: you turn a carefully shaped sourdough loaf out of its proving basket, and the dough refuses to move. You lift the basket, part of the loaf stays behind, and the smooth surface you worked to create begins to tear.
It is tempting to blame the banneton. Sometimes the basket preparation is the problem. But sticking can also tell you something important about the dough: its surface, its fermentation, its hydration or the way it was shaped.
The solution is not always more flour. A reliable release begins long before you turn the loaf onto the baking surface.
What a proving basket can—and cannot—do
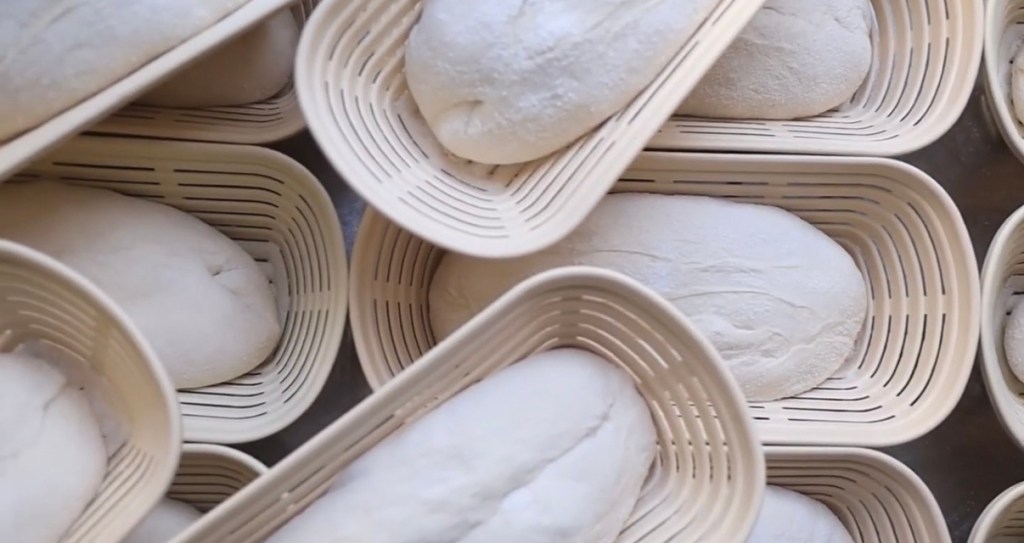
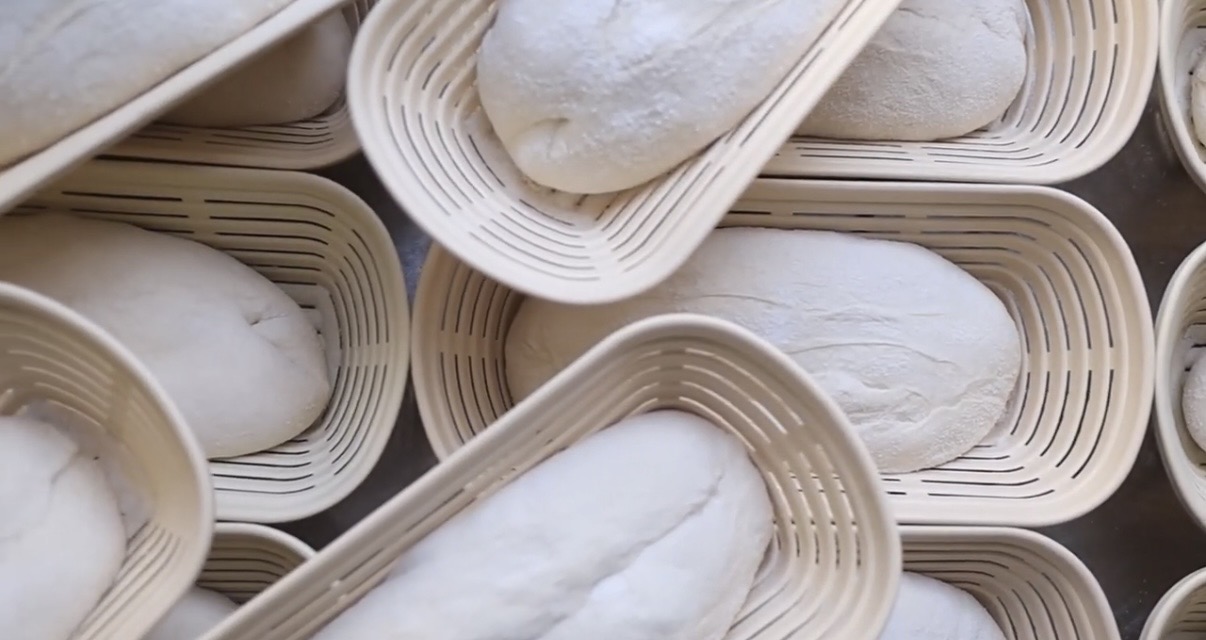
A banneton supports the shaped dough during its final prove. It helps the loaf keep its intended form and can leave a characteristic pattern on the surface. It does not create gluten strength, rescue badly over-fermented dough or replace careful shaping.
This distinction matters in a home kitchen and even more in a microbakery, where a predictable handover from shaping to proving to baking is part of an efficient production day. The basket should support the process, not disguise a problem upstream.
Five reasons sourdough sticks to a banneton
1. The dusting flour becomes a paste
Wheat flour can absorb moisture from the dough surface and become tacky. Rice flour is popular for dusting because it contains no gluten-forming wheat proteins and often provides a more effective release layer. It is not waterproof, and it is not a cure for every dough problem, but it is a sensible starting point.
Try a thin, even coating of rice flour, or a blend of rice flour and your usual wheat flour. Cover the sides as well as the base, paying attention to grooves and corners. You want a continuous barrier, not thick pockets of dry flour that leave a chalky crust.
2. The dough skin was damaged during shaping
When shaping tears the outer skin, wetter dough from underneath is exposed directly to the basket. That patch may stick even when the surrounding surface releases. Gentle, deliberate shaping and sufficient—but not excessive—surface tension help preserve the skin.
For the hands-on part of this process, see Shaping Sourdough Bread: Practice Builds Baker’s Hands, which also links to my shaping demonstration.
3. The dough is wetter than the flour can comfortably support
A recipe’s hydration percentage is not a promise about dough behaviour. Flour strength, protein quality, bran, damaged starch and mixing all influence the way water is held. Two doughs at the same nominal hydration can feel completely different.
If you need a heavy layer of flour every time you prove a loaf, review the dough formula and development as well as the basket. I explain the wider principle in Stop Chasing 80% Hydration: Your Flour Decides How Much Water It Needs.
4. Fermentation has moved beyond the dough’s useful strength
As fermentation progresses, the dough changes. Depending on the flour and conditions, an over-fermented dough may become fragile, slack and more difficult to turn out cleanly. A warm final prove can make handling more challenging, while a properly managed cold prove often gives a firmer dough surface for turning out and scoring.
Cold proving is not an automatic fix, however: condensation, an uncovered surface or an overly long fermentation can introduce their own problems. Judge the dough and control the conditions rather than copying a fixed number of hours. Temperature matters; read Sourdough Dough Temperature: How to Control Fermentation in Every Season.
5. The basket or liner is damp
A damp basket can turn a sensible dusting of flour into a sticky coating. A fabric liner that has not dried properly can do the same. Dry equipment thoroughly between uses, and do not stack or store baskets while moisture remains trapped.
A practical routine for a cleaner release
- Start with a clean, dry basket. Remove old dough and loose flour. Follow the manufacturer’s care instructions for the basket material.
- Dust evenly. Use rice flour or a suitable flour blend. Coat the surface that will touch the dough, including the sides.
- Shape without tearing. Build a supported outer skin rather than forcing the dough tighter and tighter.
- Place the loaf correctly. For a loaf you intend to score on its smooth surface, set it in the basket seam-side up. The smooth face will be uppermost after turning out.
- Manage the final prove. Protect the dough from drying, track its condition and avoid letting the basket sit in an unnecessarily warm or damp environment.
- Turn out with support. Invert the basket gently onto baking paper or your prepared loading surface. If the loaf resists, do not immediately pull at it; give gravity a moment to help, then carefully free the edges if needed.
If a loaf has already torn or partially deflated, bake it rather than trying to reshape it aggressively at the last moment. It may not have the appearance you wanted, but it can still be useful bread.
Rattan, plastic and cloth liners: the care is different
| Proving surface | Release approach | Cleaning and storage |
|---|---|---|
| Rattan or cane basket | Dust thoroughly; rice flour can help. A cloth liner is optional. | Brush out dry flour and dough. Avoid soaking; dry fully before storage. Follow the manufacturer’s instructions. |
| Food-grade plastic basket | Use a light, even flour coating as needed; the amount depends on dough and basket design. | Clean according to its manufacturer. Some, including Bread Basket Company models, are dishwasher-safe. Dry before stacking. |
| Cloth liner | Dust the fabric itself. Useful when you want a smoother loaf surface or extra protection against sticking. | Shake out excess flour; wash when required by hygiene and care instructions, and dry completely. |
One warning is universal: proving baskets are for proving, not baking. Turn the dough out before it goes into the oven. Do not put a plastic banneton into a hot oven, and do not use heat-cleaning methods unless the specific manufacturer explicitly permits them.
Diagnose the problem instead of hiding it with flour
| What you notice | What to investigate first | One useful adjustment |
|---|---|---|
| Dough sticks in one torn patch | Skin damage during shaping | Reduce friction and avoid tearing during final shaping. |
| Entire loaf clings to the basket | Uneven flouring, damp surface or overly wet dough | Dry the basket and apply a more even release layer. |
| Dough spreads dramatically on release | Fermentation, gluten development and hydration | Review the dough process before blaming the basket. |
| Thick white patches remain on the crust | Excess dusting flour | Sift a finer, more even coating; remove loose excess. |
| The liner feels tacky or smells musty | Moisture and cleaning routine | Clean appropriately and dry thoroughly; do not use contaminated equipment. |
A small test that can teach you more than another tip
For your next bake, divide one well-mixed dough batch into two similarly sized loaves. Shape them as consistently as you can. Use comparable baskets, dusting one with wheat flour and the other with rice flour. Keep the proving conditions and timing the same. Record how each loaf releases and whether the dusting changes the crust.
This is a suggested home experiment, not a test I am claiming to have performed or a guaranteed outcome. Its value is in changing one variable at a time. If both loaves stick, the problem may lie in the dough or proving conditions rather than the choice of flour.
Choosing equipment without confusing the tool with the technique
I appreciate bakery equipment that makes repetitive work simpler. In a microbakery, easy cleaning, sensible storage and consistent sizing matter alongside the quality of the loaf. SA Bakery Supplies carries Australian-made Bread Basket Company proving baskets, including practical plastic options for home bakers and production settings.
That is a product option, not a claim that a different basket will repair a poorly developed dough. If you are considering one, first choose a size and shape suited to your dough weight and loaf style.
The lesson
A loaf that sticks is giving you information. Read it in context. Check the flour coating, then the dough skin, hydration, fermentation and moisture around the basket. Change one thing, observe the result, and keep the part of your process that works.
The best proving basket is the one that supports a well-made dough and lets you release it without a struggle.
For more practical baking notes and new articles from the SA Bakery Supplies Journal, you can join the baking journal.
Further reading
- King Arthur Baking — Bannetons, brotforms and proofing baskets: a guide (basket preparation, release and care).
- Baker’s Treat Baking School — Banneton basket preparation and care (Australian guidance on dusting, drying and troubleshooting).


Leave a Reply