

THE CRAFT · Sourdough Myths Debunked, Part One
Drop a spoonful of starter into water. If it floats, it is ready to bake. If it sinks, it is not. That simple rule has been repeated so often that many beginners treat it as a verdict. But it is not a dependable test of fermentation readiness.
What the float test actually measures
Floating tells you something about the density of that particular sample at that moment. Gas trapped inside a starter can make it buoyant. But buoyancy does not directly measure yeast activity, acid development, fermentation maturity or the starter’s ability to raise your dough on your schedule.
Why a perfectly usable starter can sink
A stiff starter may have a different structure from a liquid starter. Wholegrain flour and bran can alter the way a culture traps gas. Stirring or scooping can knock out bubbles, and a small sample may lose gas as it enters the water. A sinking sample is not proof that the culture is dead or unsuitable.
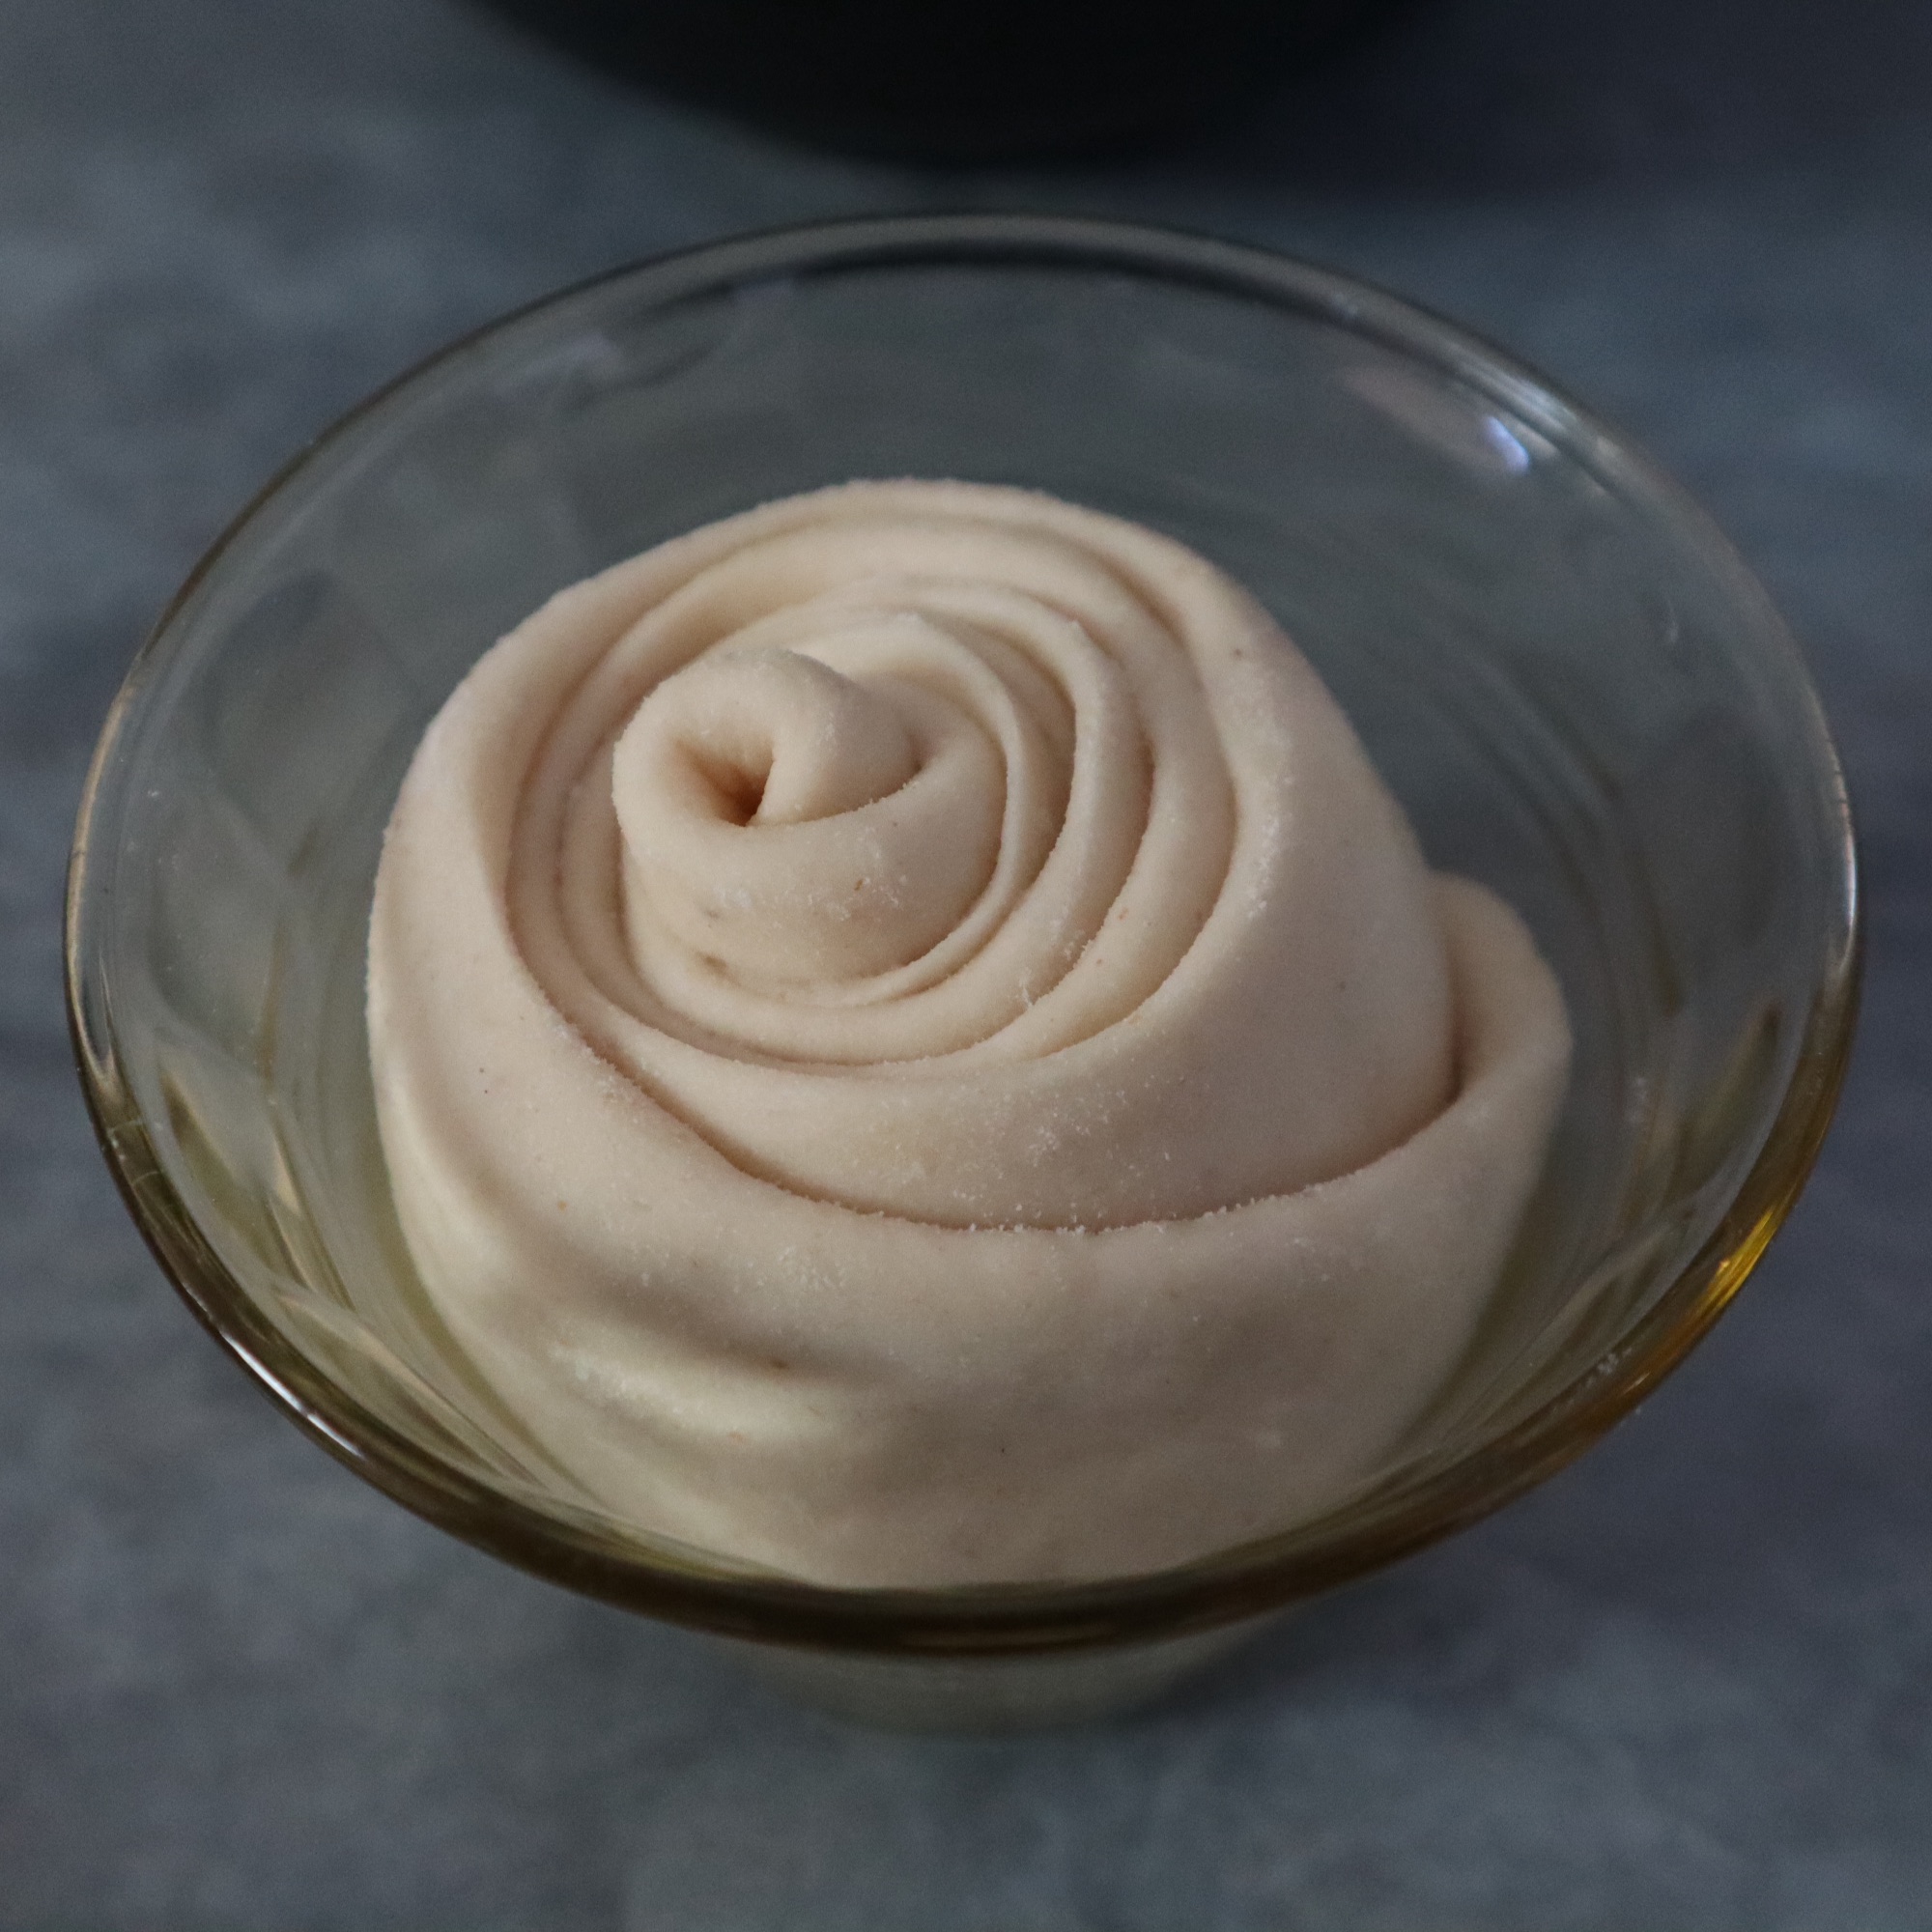
This is one of my own stiff mother cultures, maintained at about 50% hydration. It is a reminder that starter consistency matters. A test popularised around airy, wetter starters should not be treated as a universal law for every culture.
Why floating does not guarantee readiness
A young starter may trap enough gas to float before it has reached the activity level you need. A culture can also remain bubbly while its fermentation profile changes. Temperature, refreshment ratio, flour and timing all affect the result. The real question is not ‘Does it float?’ but ‘Is it performing predictably for this bread and this schedule?’
What I look for instead
I pay attention to the starter’s rise after feeding, the time it takes to reach that rise at a known temperature, its aroma, structure and how consistently it performs from one refreshment to the next. Depending on the culture and feeding regime, a peak or a particular point on the rise-and-fall curve may be the best moment to use it. There is no universal clock time or single visual trick.
Try this at home: a simple comparison
- Refresh your starter using your normal flour, hydration and feeding ratio.
- Mark the starting level on a straight-sided container and record the temperature.
- Observe it at regular intervals: rise, surface shape, aroma and texture.
- At an early stage, near its maximum rise and after it starts falling, take a small sample for the float test. Record the result without treating it as a pass or fail.
- Repeat on another day, keeping your feeding conditions as consistent as practical.
You may find that floating and readiness overlap sometimes. That is why the myth survives. But overlap is not the same as a reliable measurement.
The better lesson for beginner bakers
Learn the behaviour of your own culture. Track temperature and time, rather than following a single internet shortcut. If your starter is consistently raising dough well, a sinking spoonful should not overrule that evidence.
The float test can be a curiosity. It should not be your fermentation judge.
Read more about controlling dough temperature and fermentation, and explore the wider journey from soil to sourdough.


Leave a Reply